Skip to content
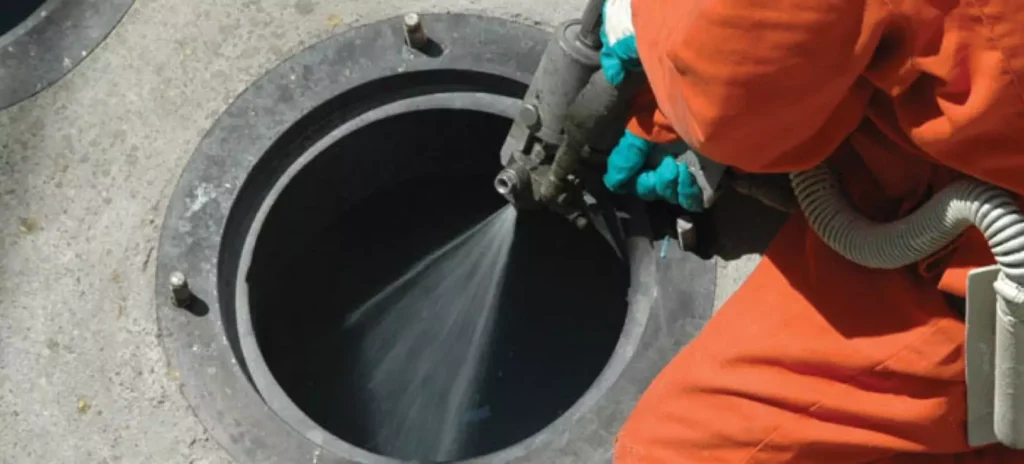
Applicator spraying ArmorThane polyurea down into a manhole

The ArmorThane system

Proven in the field.
Repeatable on every job.

A disciplined inspect, prep, spray and cure process that turns a failing concrete manhole into a seamless, monolithic structure — usually in a single visit.

The process

Four steps. Done right, every time.

The chemistry is fast. The discipline is what makes it last.

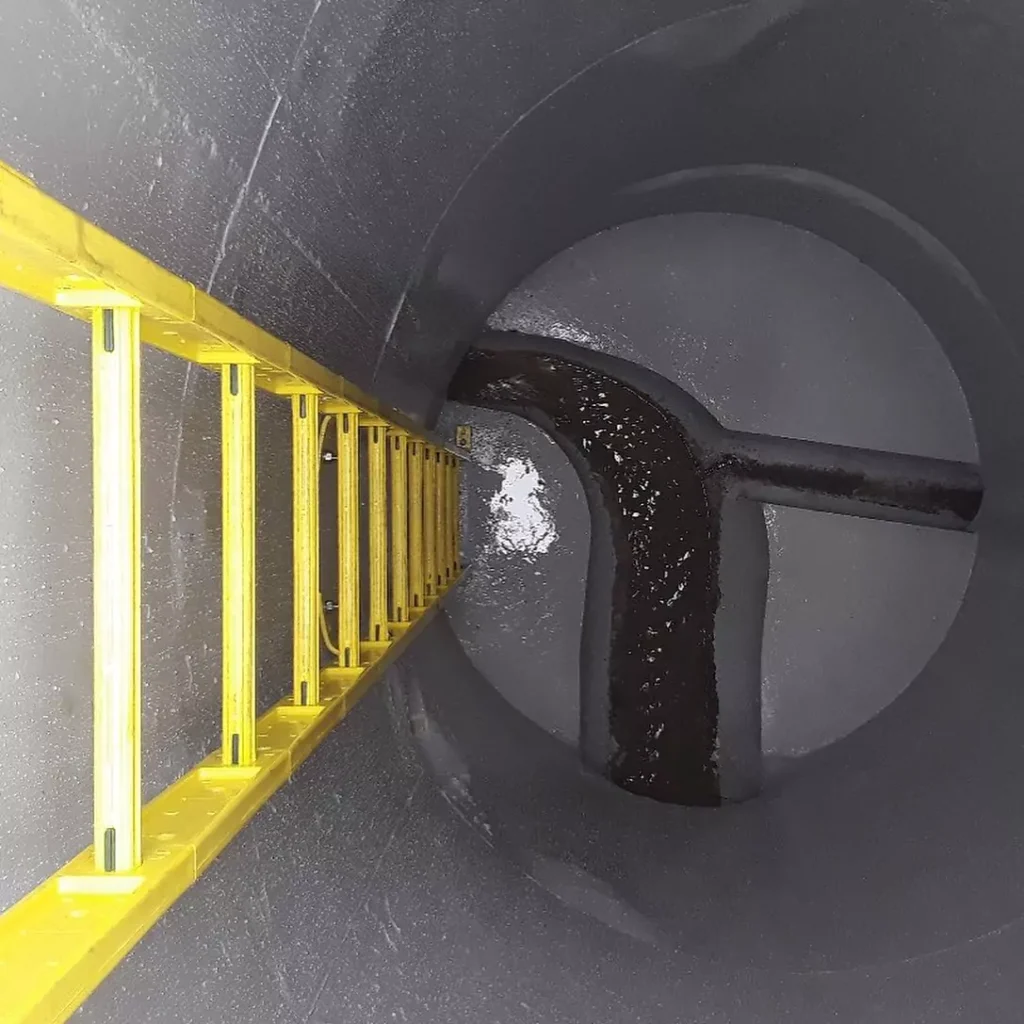
Looking down a coated manhole with a yellow access ladder01

Step 1

Inspect & assess

A trained crew documents the structure’s condition — corrosion depth, cracks, active leaks, missing mortar, chimney and frame condition — often using MACP-style coding. That record drives the repair plan and liner thickness.

  • Condition photos and measurements
  • Identify active infiltration points
  • Confirm safe confined-space entry plan
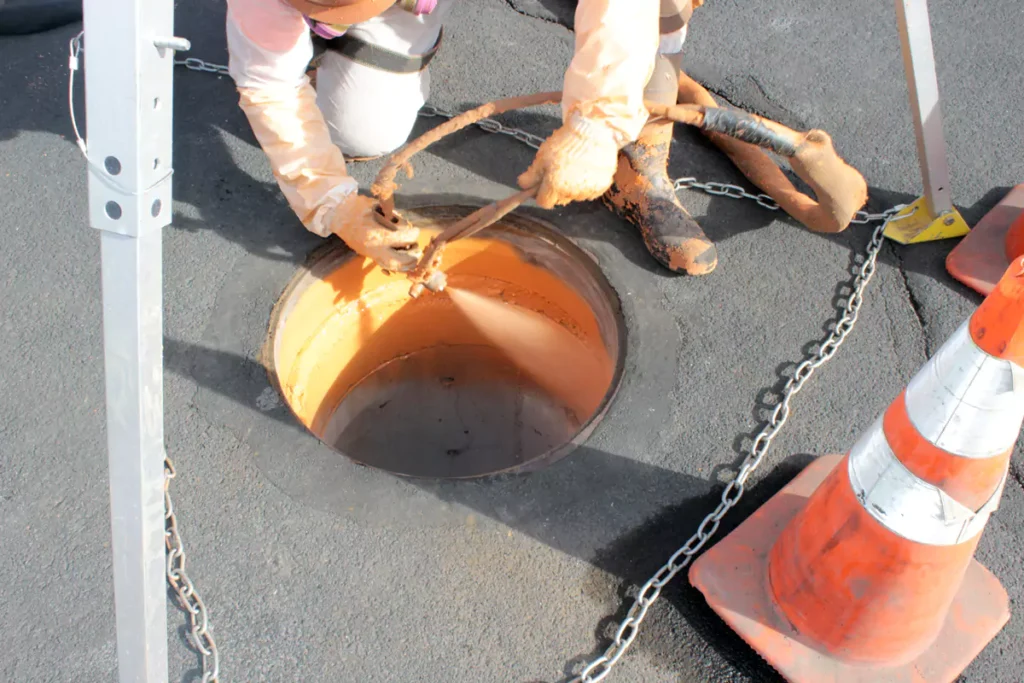
Crew rehabilitating a street manhole with spray-applied polyurea02

Step 2

Prepare the surface

Everything the liner bonds to has to be clean and sound. Crews remove debris, grease and soft concrete with high-pressure water and/or abrasive blasting, stop active leaks, and rebuild voids so the surface is ready to coat.

  • High-pressure water and/or abrasive blasting
  • Plug active leaks before coating
  • Rebuild voids, benches and inverts
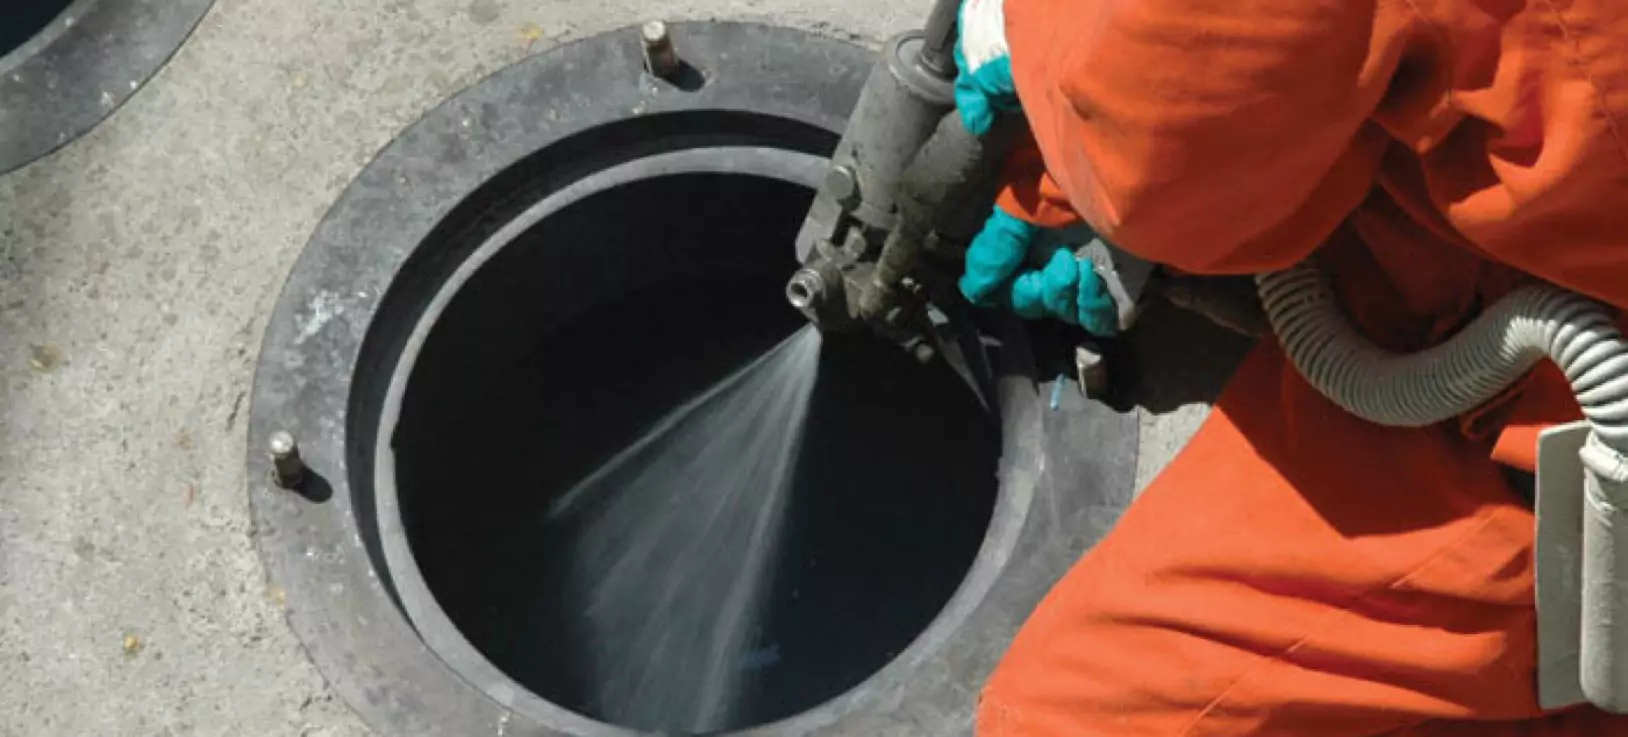
Applicator spraying ArmorThane polyurea down into a manhole03

Step 3

Prime & spray

A primer such as ArmorPrime promotes adhesion to the concrete. Then the applicator sprays ArmorLine polyurea from the bench up through the chimney, building a uniform, seamless membrane — typically 100–250 mils on the walls.

  • Heated, high-pressure plural-component spray
  • Continuous coverage from bench to frame
  • Build thickness to the specification
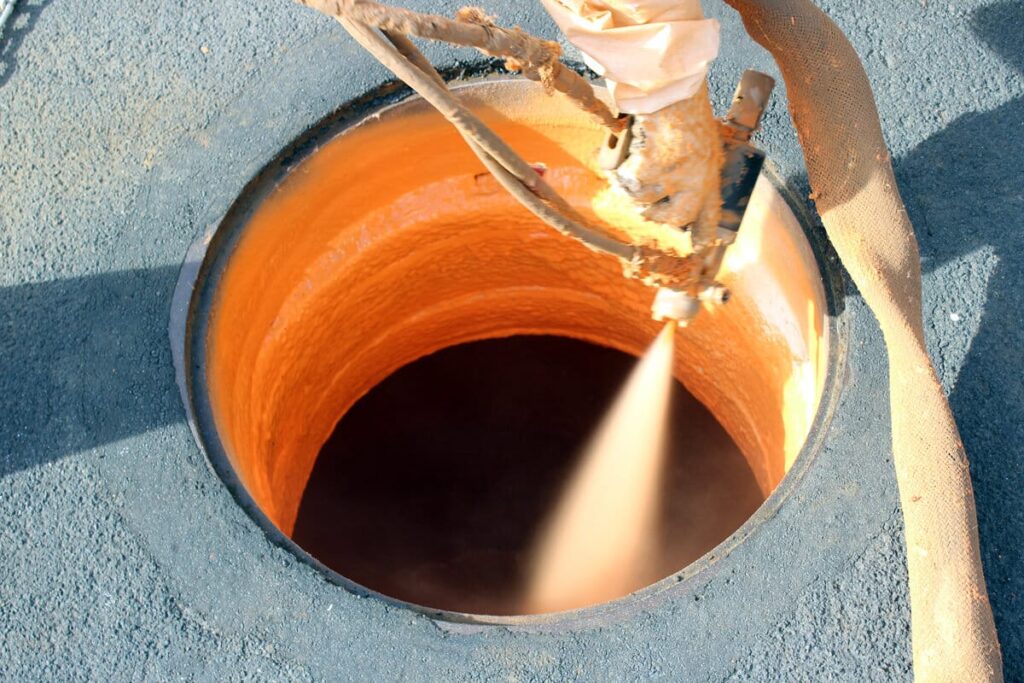
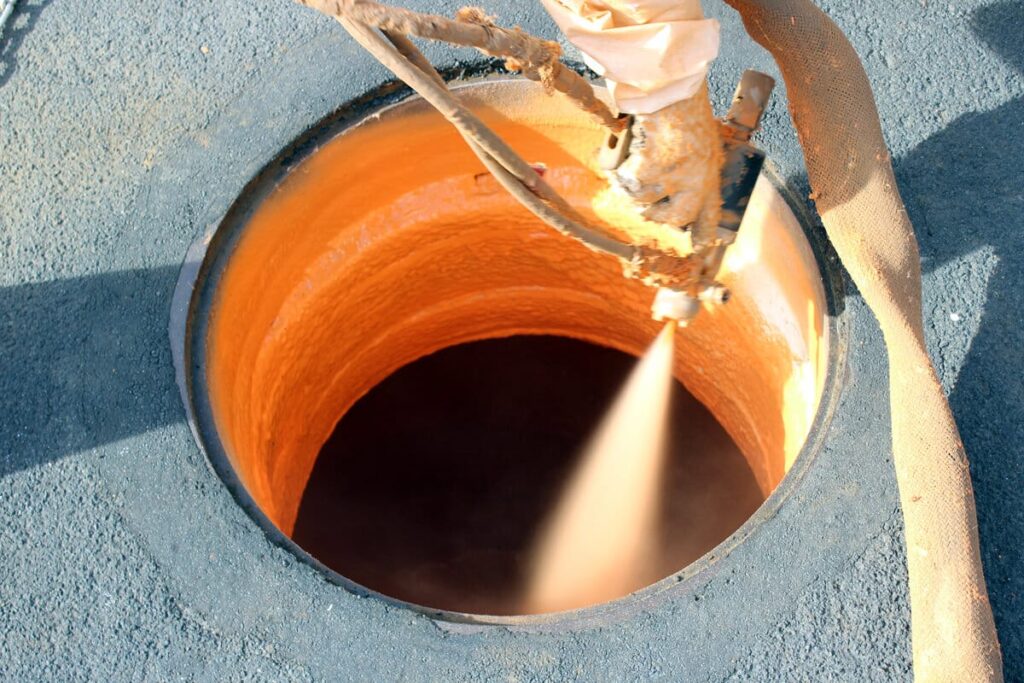
Freshly sprayed orange polyurea lining inside a manhole04

Step 4

Cure, test & return

Polyurea gels within seconds and is hard to the touch in minutes. The crew checks thickness and continuity, documents the finished work, and the structure goes back into service — usually the same day.

  • Thickness and holiday (continuity) checks
  • Final photo documentation
  • Same-day return to service

The liner build

What goes on the wall, layer by layer.

Tap a layer to see what it does.

Layer 5 of 5

Optional topcoat

Where color, UV stability or added chemical resistance is specified, a topcoat such as ArmorCoat can be applied over the liner. Many manhole specs go without it.

Layer 4 of 5

ArmorLine polyurea liner

The structural barrier. A fast-setting, high-elongation polyurea sprayed seamlessly from bench to frame — typically 100–250 mils — that isolates the concrete from acid, gases and groundwater.

Layer 3 of 5

ArmorPrime primer

Penetrates and seals the prepared concrete and promotes adhesion between the substrate and the polyurea, reducing outgassing and pinholes.

Layer 2 of 5

Repairs & leak control

Active leaks are stopped, voids and spalls are rebuilt with repair mortar, and benches and inverts are reshaped so the liner goes on over a sound, continuous surface.

Layer 1 of 5

Prepared concrete or brick

The existing structure, cleaned to sound material by high-pressure water and/or abrasive blasting. Everything above depends on this step.

Compare

Polyurea vs. the alternatives.

Feature Our pick Spray polyurea ArmorThane system Cementitious liner Spray or troweled mortar Epoxy coating Spray or roll applied Full replacement Excavate and reset
Seamless, jointless barrier Yes — monolithic membrane Can crack over time Yes, when fully cured Joints between sections
Return to service Same day Typically after cure time Hours to overnight Days to weeks
Flexibility / crack bridging High elongation Rigid Rigid to semi-rigid New concrete, rigid
H2S / acid resistance Excellent Varies by mix Good to excellent Bare concrete is vulnerable
Excavation required No No No Yes
Street & traffic disruption Minimal Moderate Moderate Significant

General comparison for typical concrete manholes. Actual performance depends on product selection, surface preparation, application and site conditions — always follow the project specification.

Quality control

Trust, but verify.

Owners and engineers want proof. Building QC into every job is how applicators win repeat municipal work.

Thickness checks

Wet-film and dry-film measurements confirm the liner meets the specified build.

Holiday testing

Spark (holiday) testing finds pinholes and thin spots so they’re fixed before the crew leaves.

Adhesion testing

Pull-off tests verify the bond between liner and substrate when the spec calls for it.

Documentation

Before, during and after photos plus job records give owners a clean audit trail.

FAQ

System questions.

Is polyurea structural?

A polyurea liner is primarily a protective barrier: it stops corrosion and infiltration and restores the surface. Structures with significant structural loss may need repairs or a structural design before lining — the inspection step determines that.

Can you spray over active leaks?

No liner bonds well to running water. Active leaks are stopped first with appropriate leak-control products, then the surface is prepared and coated.

Does it work on brick manholes?

Yes. Brick manholes are cleaned, missing brick and mortar are repaired, and the liner is applied over the restored surface to bind and seal it.

How long does a polyurea liner last?

Properly applied polyurea manhole coatings are designed for long service life — typically multiple decades — when installed over a well-prepared surface to the specified thickness.

Spray gun applying polyurea to the walls of a manhole

Start your own business

Ready to build a manhole rehab business?

Get the ArmorThane training, spray rig and materials behind thousands of restored structures — and a team that picks up the phone.

Talk to us